Posted on — Leave a comment

Tool Ergonomic and Blade Precision: How Edge Quality Impact Cuticle Integrity

In high-end salon services, masterful technique requires the ultimate precision from cutting tools. While ergonomic scissor design is essential for protecting a stylist’s posture, wrists, and hands during long workdays, the sharpness and mechanical precision of the blade itself play a direct, decisive role in hair fiber health.

Using dull, misaligned, or degraded shears does far more than hinder a stylist’s workflow—it actively damages the microscopic structure of the hair cuticle.

The Micro-Biomechanics of a Hair Cut
At a microscopic level, cutting a hair strand should ideally function as a clean, effortless shear across the keratinized cortex.

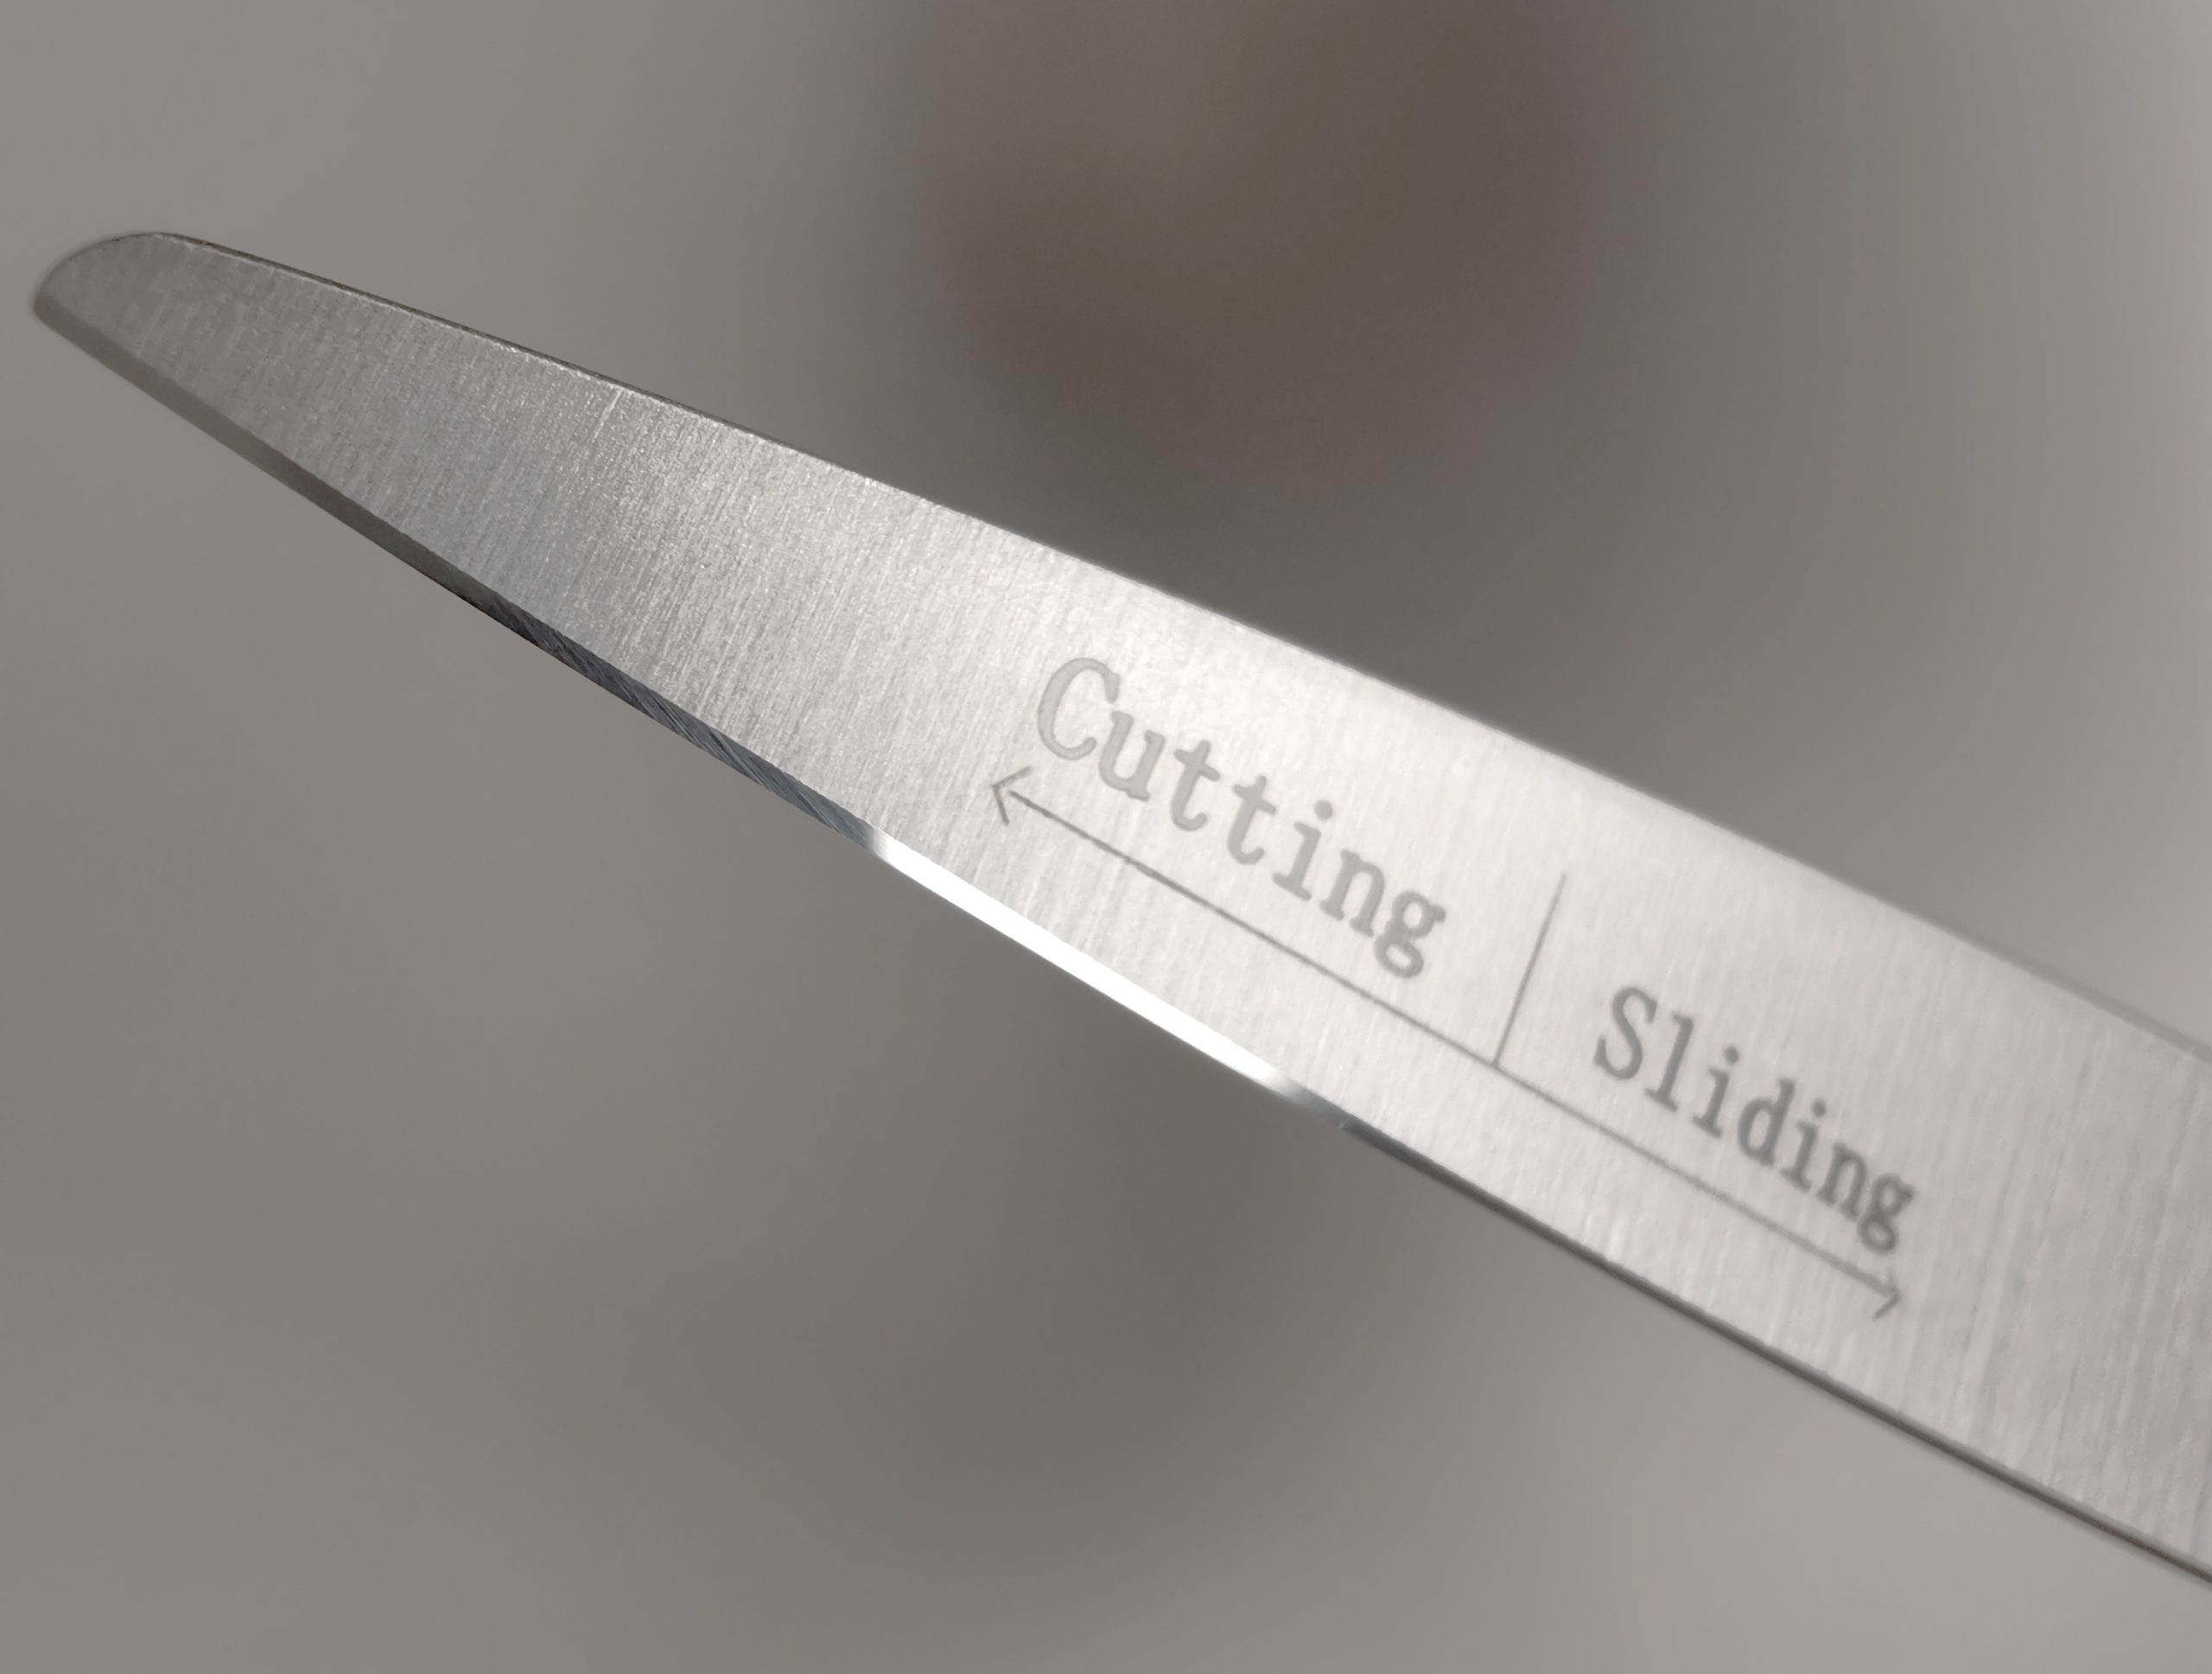
Clean Shear (Sharp Blades): High-grade, convex-edge scissors slice seamlessly through the strand without resistance. The outer cuticle scales remain intact, flat, and sealed right up to the newly created tip.

Crushing & Friction (Dull Blades): When a blade loses its razor-sharp bevel or micro-honed edge, it no longer slices; it pinches, bends, and crushes the strand before forcing its way through.

This mechanical compression causes the outer cuticle scales to shatter, flare out, and split along the tip—creating microscopic fraying that is invisible to the naked eye but highly destructive to hair health.

Long-Term Cuticle Damage: From Frayed Tips to Split Ends
When hair cuticles are crushed by sub-par tools, the consequences become visible within weeks of the client leaving the chair:

Premature Split Ends (Trichoptilosis): The frayed, unsealed cortex created by a dull shear allows moisture loss and environmental friction to unravel the fiber, turning a fresh cut into split ends prematurely.

Loss of Surface Shine: Light reflects smoothly off clean, unbroken cuticles. Crushed and lifted tips cause diffuse light scattering, making the hair ends look dry, frizzy, and matte.

Increased Porosity & Tangling: Exposed inner cortex layers catch against neighboring strands, leading to chronic tangling and localized frizz along the perimeter line.

Professional Tool Care Protocols
To safeguard cuticle integrity and preserve tool performance, leading salons uphold strict maintenance practices:

Daily Cleaning & Lubrication: Removing residual hair, moisture, and chemical styling buildup from the pivot screw daily to prevent blade misalignment.

Tension Adjustment Checks: Maintaining precise blade tension—if the blades are too loose, hair bends and pushes; if too tight, the metal edges wear down unevenly.

Specialized Convex-Edge Sharpening: Partnering exclusively with certified master sharpeners who restore razor-sharp convex edges without altering the blade’s original radius or geometry.

Material Integrity: Utilizing high-purity Japanese 440C or Cobalt alloy steel shears, which hold an ultra-fine, corrosion-resistant edge significantly longer than standard stainless steel.
Posted on — Leave a comment

The True Cost of Cheap Shears: Why Quality Steel Saves Your Career

When starting out or upgrading a salon kit, it can be tempting to opt for a budget-friendly pair of cutting shears. On paper, two pairs of shears might look almost identical in the display case. However, behind that shiny chrome finish lies a fundamental difference in metal alloy, balance, and craftsmanship. In the long run, working with low-grade shears carries hidden costs that go far beyond their initial price tag—costs that directly affect your wrist health, your efficiency, and the satisfaction of your clients.

The Chemistry of Quality Steel: Beyond the Surface
The performance of any shear comes down to its metallurgy. Cheap shears are typically manufactured using lower-tier stainless steel alloys that lack the density and hardness required to maintain a razor-sharp edge. Under the friction of daily hair cutting and exposure to salon chemicals, soft steel dulls rapidly.

High-performance shears, such as those forged from premium Japanese VG-10, Cobalt, or ATS-314 steel, undergo precise heat treatment processes that create exceptional hardness and edge retention. Premium alloys allow blades to be sharpened to a surgical convex edge that glides effortlessly through wet or dry hair without bending or pushing the section.

How Dull Blades Impact Hair Health and Efficiency
When a shear loses its razor edge, it stops cleanly slicing through hair fibers and instead begins pushing, pinching, or crushing the cuticle.

Micro-Damage to the Cuticle: A dull blade crushes the hair strand as it closes, leaving frayed ends that split shortly after the client leaves your chair.

Slower Service Times: Struggling with shears that slide or push hair forces you to take smaller sections and make multiple passes, adding unnecessary minutes to every appointment.

Inconsistent Texturizing: Dry cutting or slide cutting with low-grade steel creates tension and pulling, leading to an uncomfortable experience for your client.

Protecting Your Physical Health and Career Longevity
One of the most overlooked consequences of using cheap shears is the physical strain it places on your body. When blades are not sharp, your instinct is to compensate by squeezing your thumb harder to force the blades together.

This constant micro-tension in your hand, combined with poor handle ergonomics, dramatically increases the risk of occupational injuries like Carpal Tunnel Syndrome, tendinitis, and strain across your shoulders and upper back. Investing in high-grade steel with proper ergonomic handles allows the blades to do the work for you, protecting your joints and adding years to your career.

Calculating the True Return on Investment
While premium shears require a higher upfront investment, they consistently prove to be more economical over time. Low-grade shears require frequent sharpening—which wears away the thin metal quickly—or total replacement every few months.

In contrast, a well-crafted shear made from superior Japanese steel holds its edge for significantly longer, withstands professional servicing, and remains a reliable staple at your station for years.

Your shears are not merely an expense; they are an extension of your hands and your primary tool of expression. Choosing quality steel means investing in smoother cuts, happier clients, and a long, healthy career behind the chair.

Posted on — Leave a comment

The Professional’s Guide to Shear Grip: Techniques to Prevent Fatigue and Pain

For hairstylists, shears are an extension of the hand, a tool used for hours on end, day after day. However, an incorrect grip is one of the most common causes of hand, wrist, and shoulder fatigue, and over time, it can lead to chronic pain and even career-ending injuries. Mastering the proper technique for holding your shears is not just about precision—it’s about protecting your most valuable asset: your body .

The Correct Professional Grip
Unlike standard scissors where you might insert multiple fingers, professional shears are designed for a specific grip that maximizes control and minimizes strain. The most widely used and recommended technique is as follows :

Place your thumb in the thumb ring: Your thumb will be responsible for the cutting motion, acting as a lever. It should not be inserted all the way to the base; only the tip or first joint of your thumb should be inside the ring .

Place your ring finger in the finger ring: Your ring finger goes into the larger, stationary ring. A correct fit is crucial here—the ring should feel snug against the finger, ideally stopping at the second knuckle. This provides a secure anchor for the shear .

Rest your pinky finger on the finger rest: This small extension on the handle provides stability and helps balance the shear, reducing the work your other fingers have to do .

Rest your index and middle fingers on the body of the shear: These fingers should rest gently along the top of the shear’s shank (the area between the rings and the blades). They provide stability and control, allowing you to guide the blade with precision without gripping tightly .

The core principle is that your ring and pinky fingers, along with your palm, stabilize the shear, while your thumb acts as a controlled lever. A firm, but not overly tight, grip is essential. Squeezing too hard restricts blood flow and reduces sensitivity, leading to premature fatigue .

Common Mistakes That Lead to Pain
Many professionals develop bad habits that contribute to strain. The most frequent error is inserting multiple fingers into the rings in an attempt to gain more control. This actually limits mobility, forces you to use your whole hand and arm for movement, and drastically reduces precision . An improper fit can also be a major culprit; if your thumb is inserted too deeply, it forces your entire hand to work harder to open and close the blades, increasing stress on your hand and the shear itself .

Ergonomic Handle Solutions
If you experience fatigue, the issue might not just be your grip but the handle design of your shears. Different handle types are engineered to address specific strain points.

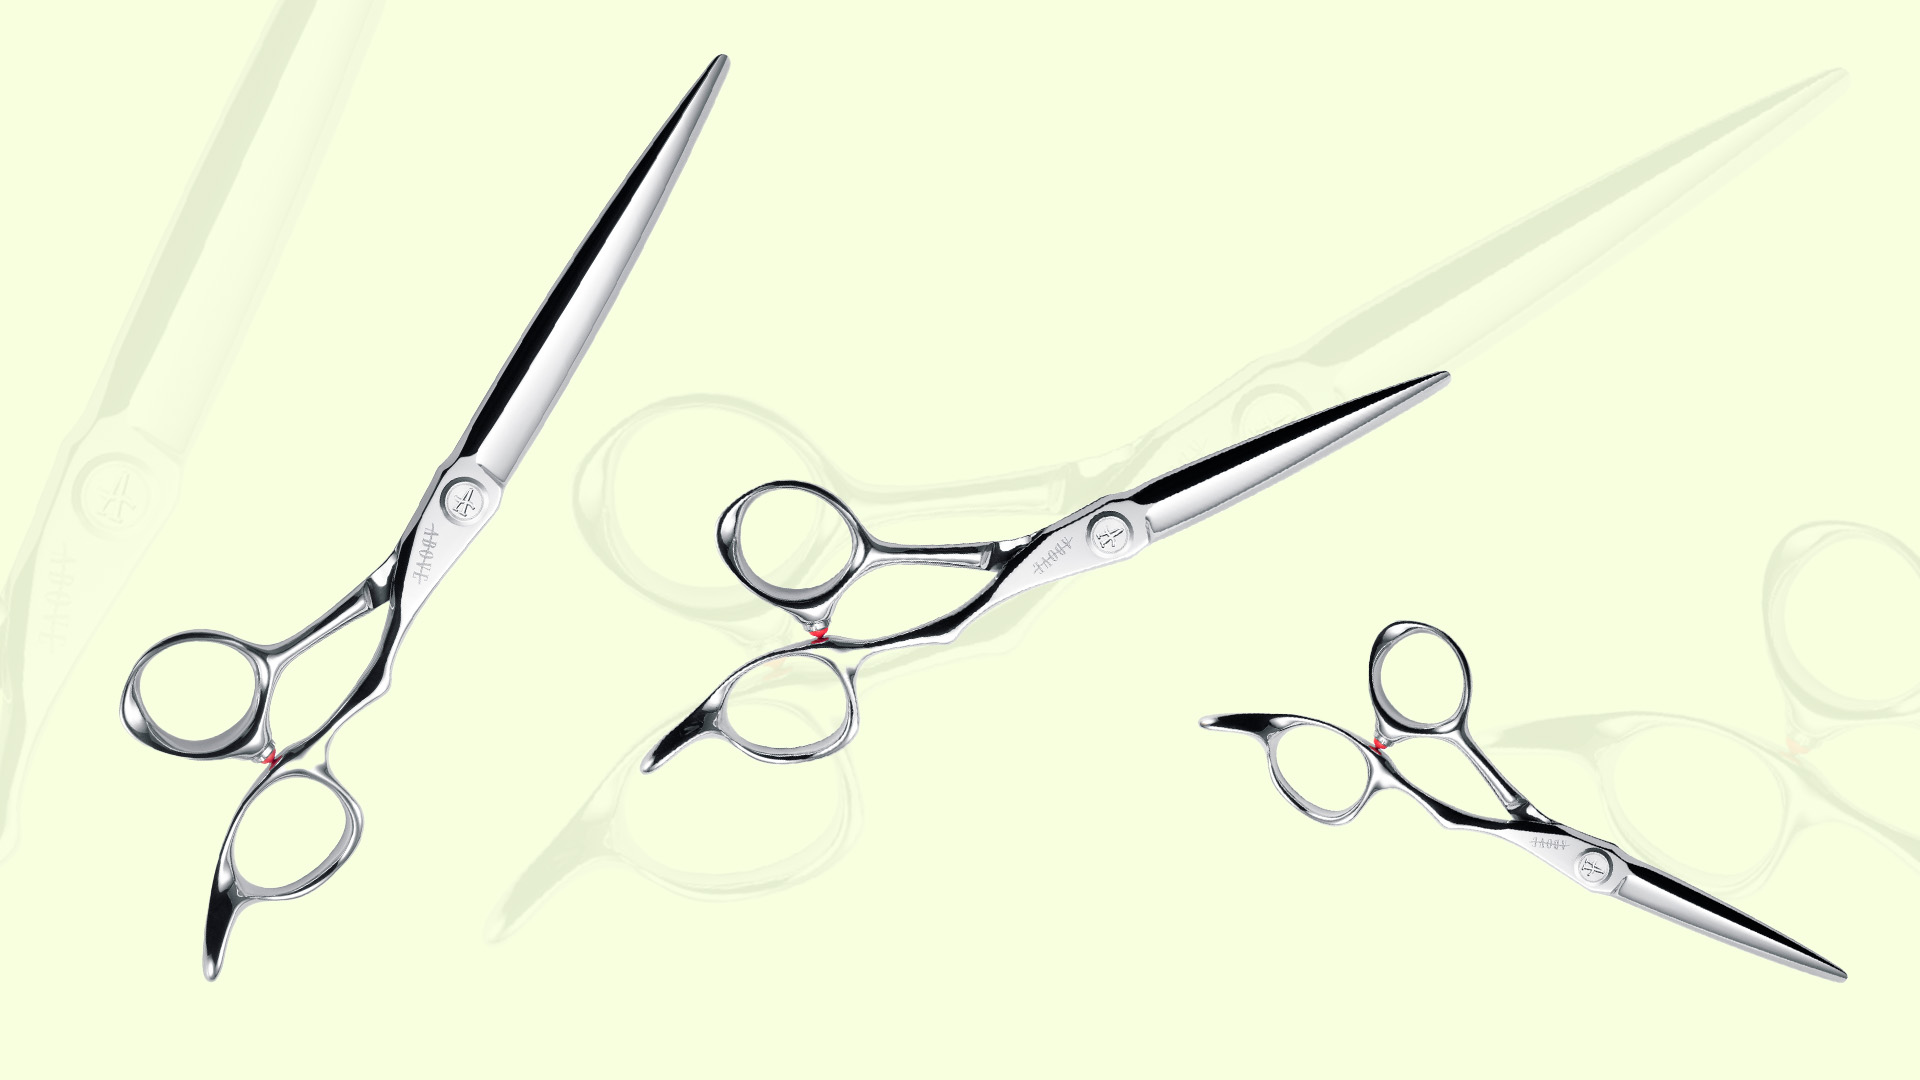
Offset Handles: The Ergonomic Baseline
An offset handle shortens the thumb ring relative to the finger ring. This reduces the distance your thumb must travel to open and close the shear, lessening the repetitive load on the thumb tendon. This is a significant upgrade from opposing grips and is a good starting point for stylists building muscle memory .

Crane Handles: The Elbow Solution
A crane handle takes the offset design further. The thumb ring is angled downward, which naturally forces your elbow to drop as you cut. This lowered elbow position reduces strain on the shoulder and upper back, making it an excellent choice for stylists who do significant scissor-over-comb work or cut high volume .

Swivel Handles: Freeing the Thumb
A swivel thumb ring allows the thumb to rotate independently. This means your thumb can follow the natural arc of the cut, keeping your wrist in a more neutral position. This reduces wrist strain, especially during slide cutting, dry cutting, and detailed texturizing. For stylists whose fatigue is localized in the wrist and thumb, a swivel handle is often the answer .

Choosing Based on Your Symptoms
Rather than picking a handle style arbitrarily, start by diagnosing what your body is telling you :

If your elbow lifts regularly and your shoulder/upper back aches: A Crane handle is likely the best solution.

If your wrist bends or your thumb feels sore: A Swivel handle is designed to address this type of compensation.

If you’re new to ergonomic shears: An Offset handle provides a significant benefit with a minimal adjustment period.

The Importance of a Proper Fit
Beyond the handle type, ensuring the shear fits your hand is critical. Shears come in different sizes (e.g., 5.5″, 6.0″, 7.0″) . A shear that is too large or too small can force your hand into an unnatural position, leading to strain. When trying a shear, ensure the ring fits securely on your ring finger and your thumb sits comfortably in its ring without being forced to stretch or cramp .

Mastering your grip and choosing shears that work with your body are not luxuries; they are necessities for a long and pain-free career. By adopting the correct technique and leveraging modern ergonomic designs, you can significantly reduce fatigue, enhance your precision, and protect your hands for years to come.

Posted on — Leave a comment

The First Cut of the Morning: How to Start with Energy and Precision

The first client of the day is in the chair. You have just arrived. You are still waking up. Your hands are not quite warm. Your mind is not quite focused. And you are about to pick up your shears.

This moment sets the tone for everything that follows. A good first cut builds momentum. It fills you with confidence. It reminds you why you love this work. A rushed, unfocused first cut does the opposite. It leaves you unsettled. It makes you second-guess yourself. It creates a ripple effect that can last all day.

The first cut of the morning is not just another service. It is a ritual. A way of starting the day with intention. A way of honoring your craft and your client. Here is how to make it your best cut of the day.

The first thing to do is to arrive early. Not on time. Early. Give yourself at least fifteen minutes before your first client. Time to settle in. Time to breathe. Time to prepare your station. Time to shift from “home mode” to “work mode.” The stylist who rushes in at the last minute starts the day in a state of stress. The stylist who arrives early starts the day in a state of control.

The second thing to do is to warm up your hands. Your hands are your most important tool. They need to be ready. Stretch your fingers. Roll your wrists. Shake out the tension. Hold your shears and open and close them slowly. The warm-up is not just physical. It is mental. It tells your brain that you are about to work. It prepares your body for the precision that is coming.

The third thing to do is to check your shears. Are they clean? Are they sharp? Is the tension correct? The first cut of the day is not the time to discover that your shears are dull or misaligned. Check them before the client arrives. A quick clean and a drop of oil can prevent a frustrating morning.

The fourth thing to do is to set an intention. Not a goal. An intention. “I will be present with this client.” “I will listen before I cut.” “I will enjoy this service.” An intention is not about the outcome. It is about your energy. It focuses your mind on what matters. It reminds you that the cut is not just about technique. It is about connection.

The fifth thing to do is to greet your client warmly. Not a perfunctory “hi.” A real greeting. Eye contact. A smile. A moment of genuine connection. The first client of the day deserves your full attention. They are not just a number. They are a person. And how you greet them sets the tone for the entire service.

The sixth thing to do is to take your time with the consultation. Do not rush through it. Ask questions. Listen to the answers. Look at the hair. Feel the texture. The consultation is not just about getting information. It is about building trust. The client who feels heard in the consultation is the client who relaxes in the chair. And a relaxed client makes for a better cut.

The seventh thing to do is to start with a clean section. The first cut is a statement. It sets the direction for the whole service. Take a clean, crisp section. Make a precise cut. Watch how the hair falls. Adjust if needed. The confidence you bring to the first cut carries through the rest of the service. Do not rush it. Do not hesitate. Cut with intention.

The eighth thing to do is to check your work as you go. Do not wait until the end. After the first few sections, stop. Look at the shape. Feel the weight. Is it going where you want it to go? If not, adjust. Small corrections early prevent big corrections later. The first cut is not just about the first snip. It is about the first few minutes of the service.

The ninth thing to do is to enjoy the service. The first cut of the morning is not a task to be completed. It is a moment to be savored. The quiet of the morning. The focus of the work. The connection with the client. These are the reasons you chose this profession. Do not let the rush of the day steal them from you.

The tenth thing to do is to finish the service with pride. Look at the result. See the shape. Feel the weight. The first cut of the morning is done. It was your best. Not because it was perfect. Because you were present. Because you prepared. Because you cared. That care is what makes you a professional. That care is what keeps clients coming back. That care is what makes the first cut of the morning something to look forward to. Not a chore. A beginning. And beginnings are always full of possibility.

Posted on — Leave a comment

How to Use Thinning Shears to Add Texture Without Weakening the Hair

You reach for your thinning shears. You know they are powerful. You know they can remove bulk, blend lines, and create movement. But you also know they can be dangerous. Used incorrectly, they can leave visible lines, create holes in the hair, or weaken the density so much that the hair looks thin and damaged.

Thinning shears are not a shortcut. They are a precision tool. They require technique, intention, and restraint. The difference between a stylist who uses them well and a stylist who uses them poorly is not the tool. It is the approach.

The first thing to understand is that thinning shears remove hair. That is obvious. But what is less obvious is that they remove hair in a specific pattern. The teeth cut some hairs and leave others intact. This creates texture and reduces bulk without changing the overall length. When used correctly, the result is movement and lightness. When used incorrectly, the result is visible lines, uneven texture, and compromised density.

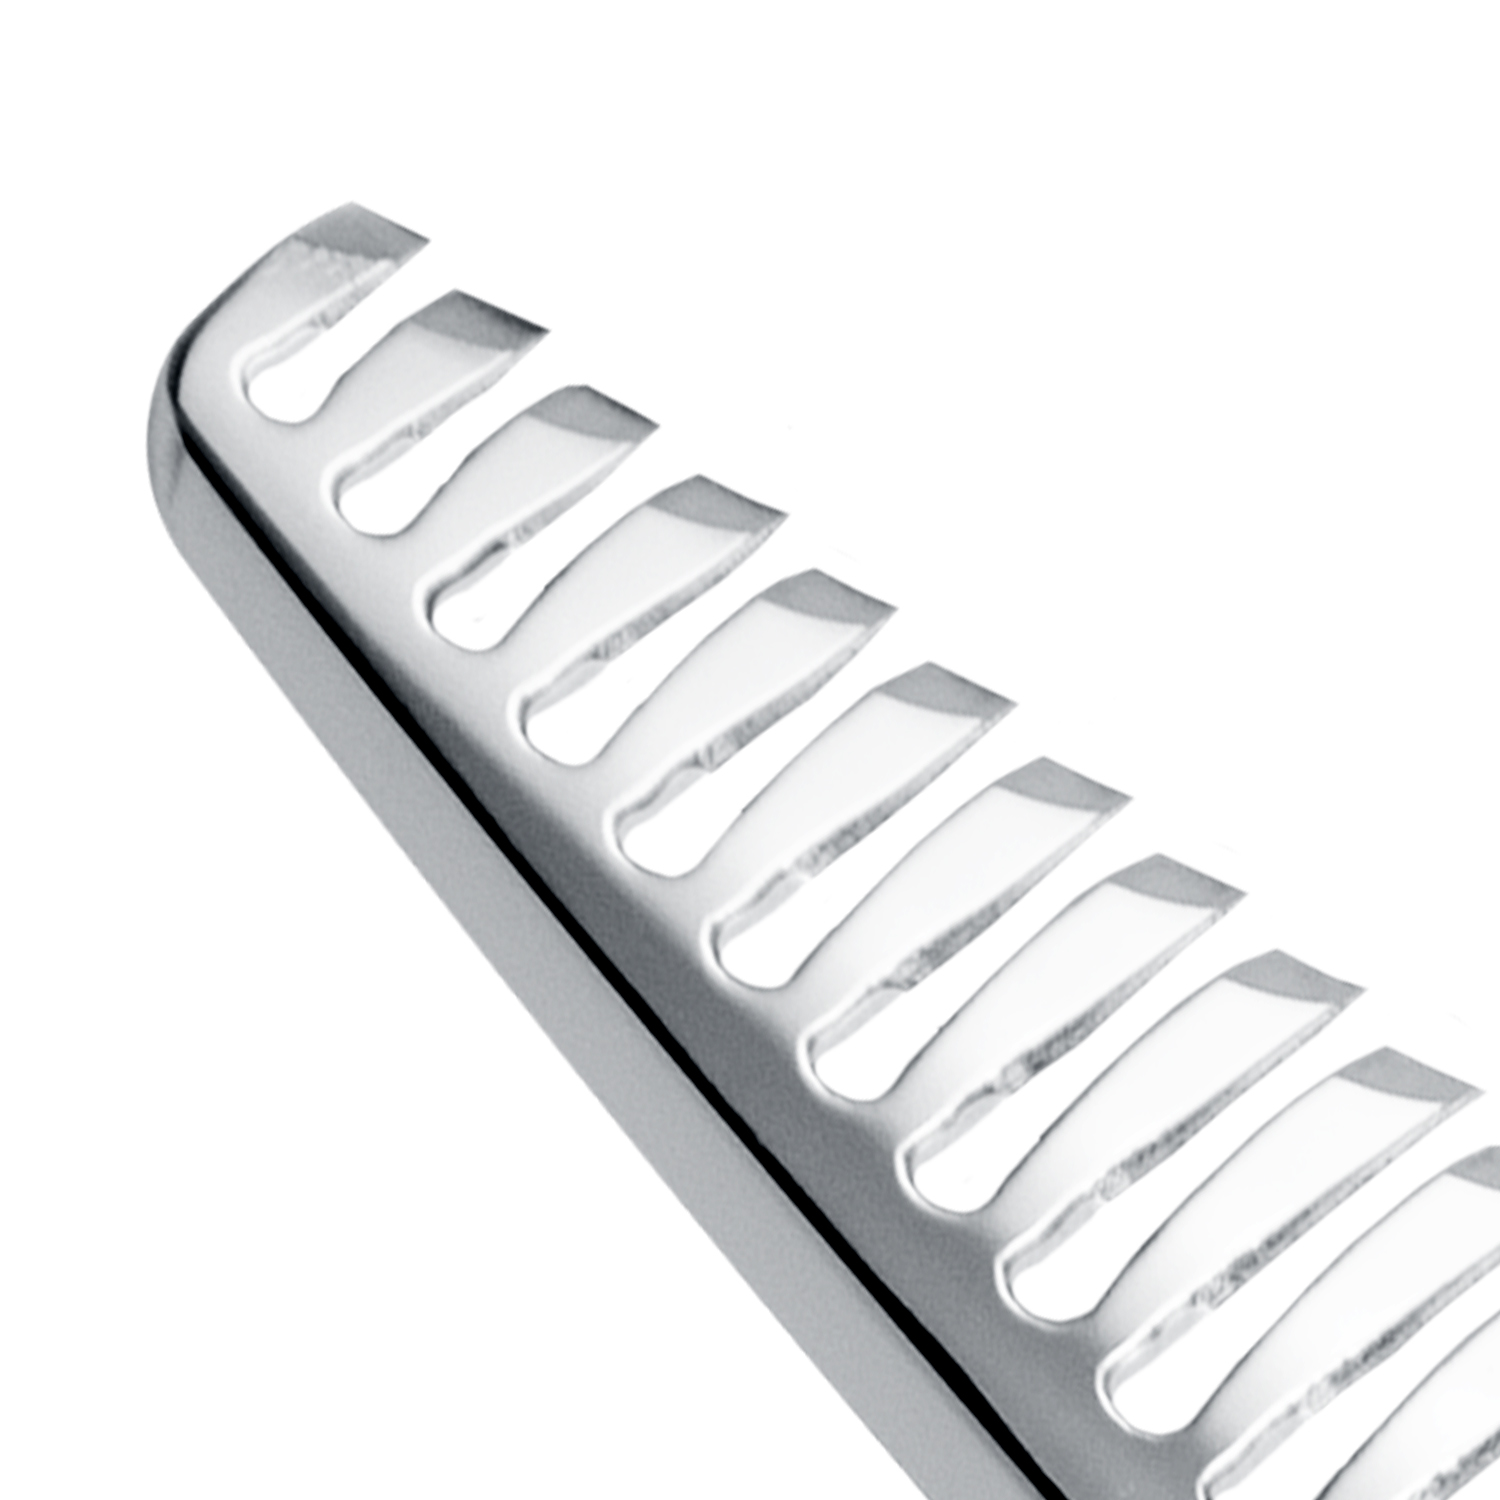
The second thing to understand is that not all thinning shears are the same. The number of teeth matters. Shears with more teeth (30 to 40) remove less hair per cut. They are gentler. They are ideal for fine hair or for finishing work. Shears with fewer teeth (16 to 24) remove more hair per cut. They are more aggressive. They are better for thick hair or for bulk removal. Choosing the right shear for the task is the first step to using them well.

The third thing to understand is that you should never close the shears completely. When you close thinning shears all the way, you cut a straight line across the hair. That line becomes visible as a gap or a hole. Instead, close the shears partially. Let the teeth do the work. The hair is cut, but the line is soft. The result is texture, not a line.

The fourth thing to understand is where to use thinning shears. They belong on the interior of the hair, not the perimeter. Cut into the mid-lengths. Remove weight from the crown. Soften the connection between layers. Never use thinning shears on the ends of the hair. That is where the perimeter lives. Cutting the perimeter with thinning shears creates a wispy, uneven edge that looks thin and damaged.

The fifth thing to understand is that thinning shears should be used in sections. Do not run them through the entire head in one motion. Work in small sections. One to two inches wide. Make two or three cuts per section. Lift the hair and cut into the mid-lengths. The result is subtle texture, not aggressive removal.

The sixth thing to understand is the direction of the cut. Cutting downward removes bulk from the interior. Cutting upward (toward the roots) creates lift and volume. The direction matters. If you want to remove weight, cut downward. If you want to create volume, cut upward. If you want both, alternate directions.

The seventh thing to understand is that thinning shears are not for every hair type. Fine hair cannot tolerate aggressive thinning. It will look sparse and damaged. Use thinning shears sparingly on fine hair. One or two cuts per section. Use a shear with more teeth. Thick hair can handle more aggressive thinning. It needs the weight removal. Use a shear with fewer teeth. Make more cuts per section.

The eighth thing to understand is that thinning shears do not replace good cutting technique. They are a finishing tool. Not a foundation. Cut the shape first. Establish the perimeter. Create the layers. Then use thinning shears to refine. If you use thinning shears to create the shape, you will end up with a shape that is uneven and weak.

The ninth thing to understand is that you should check your work constantly. After every few cuts, release the section and look at it. Is the texture even? Are there visible lines? Is the hair lying smoothly? If you see a line, go back and soften it with one or two more cuts. If you see a hole, you have cut too much. There is no way to put the hair back. Learn from the mistake and cut less next time.

The tenth thing to understand is that less is almost always more. The stylist who uses thinning shears aggressively is often the stylist who is trying to fix a problem that should have been fixed with a better haircut. Thinning shears are not a solution. They are a refinement. Use them sparingly. Use them intentionally. Use them with respect for the hair.

Thinning shears are a gift to the hairstylist. They can transform a heavy haircut into a light one. They can turn a blunt shape into a textured one. They can create movement and volume in ways that nothing else can. But they are also a weapon. They can destroy density. They can create holes. They can leave visible lines that haunt the client for weeks. The difference is not the tool. The difference is the hand that holds it. Hold it with care. Hold it with intention. Hold it with the knowledge that you are not just cutting hair. You are shaping confidence. And confidence deserves respect.

Posted on — Leave a comment

How to Read Hair Before Cutting It (What the Texture Tells You About the Cut It Needs)

You pick up your shears. The client is in the chair. You have done the consultation. You know what she wants. But do you know what her hair wants?

Hair speaks. Not in words. In texture. In density. In elasticity. In the way it falls, bends, and springs. The best stylists do not just listen to the client. They listen to the hair. They let the hair tell them where the weight should sit, where the layers should fall, and where the perimeter should land.

Learning to read hair is not a talent. It is a skill. And like any skill, it can be learned. Here is how.

Start with your eyes before your hands. Look at the hair dry. Notice how it falls naturally. Does it lie flat against the head? Does it lift at the roots? Does it wave in one direction and bend in another? The hair’s natural fall is your blueprint. Cutting against it creates a constant battle. Cutting with it creates harmony.

Now look at the density. Part the hair in small sections. How much scalp do you see? High density means thick hair that needs weight removal. Low density means fine hair that needs weight preservation. Density dictates everything. A cut that works on thick hair will look sparse on thin hair. A cut that works on thin hair will look bulky on thick hair.

Now touch. Run your fingers through the hair. Feel the texture. Fine hair feels like silk or cotton. It slips through your fingers. Coarse hair feels like wire or wool. It has grip. Medium hair is somewhere in between. Fine hair needs blunt lines and minimal layering to look full. Coarse hair needs internal weight removal to prevent bulk.

Now stretch. Take a single strand of wet hair. Gently pull it between your fingers. Healthy hair stretches about thirty percent and returns to its original length. Hair that stretches and does not return is damaged. Hair that snaps immediately is brittle. Damaged hair needs protein and conservative cutting. Brittle hair needs moisture and very gentle handling.

Now observe the wave pattern. Straight hair reflects light evenly. Wavy hair has an S shape. Curly hair spirals. Coily hair zigzags. Each pattern requires a different cutting approach. Straight hair shows every imperfection. Wavy hair forgives minor unevenness. Curly hair needs dry cutting to account for shrinkage. Coily hair needs shape that follows the head, not fights it.

Now check the growth pattern. Find the cowlicks. Find the whorls. Find the direction changes. These are not flaws. They are features. Cutting against them creates perpetual problems. Cutting with them makes styling effortless. A cowlick at the crown is not a mistake. It is an opportunity to create volume where the hair already wants to lift.

Now assess the elasticity. This is the hair’s ability to return to its original shape after being stretched. High elasticity hair can handle tension and over-direction. Low elasticity hair will break or lose shape. Elasticity is health. Health determines how much you can manipulate the hair during cutting.

Now check the porosity. Run your fingers up a strand from end to root. Does it feel smooth? Low porosity. Does it feel rough or bumpy? High porosity. Low porosity hair resists moisture and holds style longer. High porosity hair absorbs everything but releases it quickly. High porosity hair needs sealing after cutting to look smooth.

Now observe the movement. Shake the hair gently. Does it swing? Does it bounce? Does it stick together or separate? Hair that moves well can handle more texture. Hair that is stiff or sticky needs clarifying and lighter cutting.

Now listen. Cut a small section. What do you hear? A clean snip means sharp shears and healthy hair. A crunch means damage. A snap means brittleness. The sound tells you what you cannot see.

Now combine everything. Fine, high-density, wavy hair with good elasticity needs internal weight removal but perimeter preservation. Coarse, low-density, curly hair with low elasticity needs shape that follows the curl pattern and very conservative cutting. There is no one formula. There is only reading and responding.

The stylist who reads hair before cutting never fights the hair. They work with it. They let it guide them. The hair tells them where the weight wants to sit. They remove it from where it is heavy. The hair tells them where the perimeter wants to fall. They cut there. The hair tells them what it can and cannot do. They listen.

Hair does not lie. It does not have ego. It does not care about trends or photos. It only cares about its own nature. Your job is not to force the hair into a shape it does not want. Your job is to find the best shape within its nature. That is not cutting. That is translation. And the best translators are not the ones who talk the most. They are the ones who listen the best

Posted on — Leave a comment

The Difference Between 5.5, 6, and 7 Inch Shears (And How to Know Which You Need)

You are standing at the beauty supply display. Three pairs of shears. Same brand. Same quality. Same beautiful finish. But different lengths. 5.5 inches. 6 inches. 7 inches. Which one do you buy? Which one is right for your hand, your cutting style, your clients?

Most stylists guess. They buy what their friend uses. They buy what looks comfortable in the hand for thirty seconds. They buy the middle option because it feels safe. Then they go back to work and wonder why their new shears feel clumsy, why their wrist hurts, why certain cuts are harder than they should be.

The length of your shears is not a matter of taste. It is a matter of mechanics. Different lengths excel at different tasks. The right shear for one stylist is the wrong shear for another. The right shear for a precision bob is wrong for a point-cut shag. Understanding the difference transforms how you work.

Let us start with the smallest option. Five and a half inch shears are short. The blades are compact. The cutting surface is limited. This sounds like a disadvantage. It is not. Short shears excel at detail work. Cutting around the ears. Trimming the nape. Point cutting into tight spaces. Working on small heads or short hair. The short blade gives you control. You can see exactly where the tip is at all times. There is less metal to maneuver in tight areas.

Five and a half inch shears are also lighter. Less weight means less fatigue. If you do intricate work all day, if you specialize in short hair or pixie cuts, if you have small hands, a 5.5 inch shear might be your perfect tool. The trade-off is speed. Long, smooth cuts are harder with a short blade. You will take more snips to cover the same distance.

Now the middle option. Six inch shears are the most common. They are the default for a reason. They balance control and speed. They are long enough to cut a straight line efficiently. They are short enough to maneuver around the ears. They work for most cutting techniques. They fit most hands.

If you are a generalist, if you do a mix of cuts, if you are buying your first good pair of shears, start with 6 inches. It is the safest choice. It will not be perfect for every task. It will be good enough for almost all of them. Over time, you will learn what you wish were different. Then you can add specialized lengths to your collection.

Now the largest option. Seven inch shears are long. The blades cover more distance with each snip. They are designed for speed and efficiency. Cutting a blunt line on long, thick hair is faster with a 7 inch shear. Removing bulk from a dense head takes fewer strokes. The longer blade also helps you see the line you are cutting. You can rest the blade on your fingers and use the full length as a guide.

Seven inch shears are heavier. They require more hand strength and more wrist control. They are harder to maneuver in tight spaces. Cutting around the ears with a 7 inch shear is awkward. Point cutting requires more precision because the tip is farther from your hand. If you have small hands, a 7 inch shear may feel unbalanced and unwieldy.

How do you know which length you need? The answer is not in the display case. It is in your work.

Think about your average client. Do you mostly cut short hair, pixie cuts, and precision bobs? Try a 5.5 inch shear. The control will surprise you. Do you mostly cut long hair, thick hair, and blunt lines? Try a 7 inch shear. The speed will delight you. Do you do a bit of everything? Start with 6 inches. Learn what you wish were different.

Think about your hand size. Hold a 6 inch shear. Where does the thumb ring sit? Where is the finger rest? If your fingers feel cramped, go longer. If you feel like you are reaching, go shorter. A shear that does not fit your hand will never feel right, no matter how sharp it is.

Think about your cutting style. Do you cut with your shears deep in the section, using the full blade? Longer shears will serve you well. Do you cut with the tips, nibbling at the ends? Shorter shears will feel more natural. There is no wrong style. There is only what works for your hand.

The best approach is to own multiple lengths. A 6 inch shear for general work. A 5.5 inch shear for detail and short hair. A 7 inch shear for long hair and bulk removal. You would not use the same knife for slicing bread and paring an apple. Do not use the same shear for every cut.

If you can only afford one pair, buy 6 inches. Master it. Learn its strengths and weaknesses. Then save for your next pair. The second pair should address what your first pair struggles with. If your 6 inch shears feel clumsy around the ears, buy a 5.5 inch. If they feel slow on long hair, buy a 7 inch. Build a kit that works for your work.

The stylist who uses the right length for the right task cuts faster, cuts cleaner, and hurts less at the end of the day. That is not a coincidence. That is engineering. Your hand is a machine. Your shears are a tool. Match them correctly, and the work feels like play. Match them poorly, and every cut is a battle. Choose wisely. Your wrist will thank you. Your clients will thank you. And your shears will finally feel like an extension of your hand.

Posted on — Leave a comment

The Paper Test Is Not Enough: How to Evaluate Shears Before Buying Them

You walk into a beauty supply store. You ask to see a pair of shears. The salesperson hands them to you. You open a drawer, pull out a piece of paper, and snip. The paper cuts cleanly. You nod. You buy the shears. Two weeks later, you are back at your station wondering why your new shears feel clumsy, why they pull at the hair, why your wrist hurts at the end of the day.

The paper test is not enough. It never was.

Paper is uniform. Paper does not have moisture. Paper does not have variable thickness. Paper does not fight back. Paper tells you whether the shears are sharp. It tells you almost nothing about whether they are right for you. Evaluating shears before buying requires a more complete set of tests. These tests take five minutes. They can save you hundreds of dollars and years of wrist pain.

The first test is the hair test. Bring a small section of clean, dry human hair. Not synthetic. Not extensions. Real hair. Cut it with the shears. Listen. Feel. A good shear will cut through hair with minimal resistance. You should feel a clean separation, not a crush or a push. Look at the ends of the hair under good light. A sharp, well-aligned shear leaves a clean, dark line. A dull or misaligned shear leaves white dots, frayed edges, or angled cuts.

The second test is the slide test. Open the shears partially. Place a single strand of hair near the pivot. Close the shears slowly, letting the blade glide along the strand. The hair should slide smoothly toward the tip. If the hair catches, sticks, or tears, the blade has a nick, a burr, or a misalignment. This test reveals problems that the paper test will never show.

The third test is the sound test. Close the shears slowly near your ear. A high-quality shear will close with a soft whisper or a light “snikt.” There should be no clicking, grinding, scraping, or metallic ringing. Clicking means the blades are striking each other instead of gliding. Grinding means the pivot is dry or damaged. Listen carefully. The sound tells you what the blade cannot.

The fourth test is the balance test. Hold the shears in your cutting position. Close your eyes. Notice where the weight sits. Does the shear feel balanced between your thumb and fingers? Or does it feel heavy in the front or back? A well-balanced shear will feel like an extension of your hand. An unbalanced shear will fight you. You will feel it in your wrist before you finish your first cut.

The fifth test is the tension test. Open the shears about halfway. Hold them by the finger rest and let the thumb ring hang freely. Gently swing the shears. The blades should move smoothly without falling completely open or closed. If the blades swing too freely, the tension is too loose. If they do not move at all, the tension is too tight. Proper tension allows smooth movement without wobble. This test takes two seconds. Most stylists have never done it.

The sixth test is the fingertip test. Run your fingertip lightly along the cutting edge from the pivot to the tip. Do not press. You are not testing sharpness. You are testing for nicks. A nick feels like a tiny notch or catch on your skin. Even a microscopic nick will create drag and snagging. If you feel a nick, put the shears down. No amount of sharpening will fully remove a deep nick without changing the blade geometry.

The seventh test is the visual alignment test. Hold the shears up to a light. Look at the line where the two blades meet. You should see a thin, dark, continuous line from the pivot to the tip. If you see gaps, the blades are misaligned. If the line changes width, the blades are warped. If you see light passing through between the blades, put the shears down immediately. They will never cut correctly.

The eighth test is the comfort test. Hold the shears in your cutting position for thirty seconds. Do not cut. Just hold them. Notice the pressure points on your fingers. Does the thumb ring rub? Does the finger rest dig into your ring finger? Does the handle feel too small or too large? Comfort is not a luxury. It is a prerequisite. If the shears are not comfortable in your hand, you will not use them correctly. You will compensate with bad posture. Your body will pay the price.

The ninth test is the weight test. Compare the shears to a pair you already love. Are they significantly heavier? Significantly lighter? Weight affects fatigue. A heavier shear may feel more substantial, but it will tire your hand faster. A lighter shear may feel less durable, but your wrist will thank you at the end of a long day. There is no right answer. There is only what works for your hand.

The tenth test is the brand test. This is not about loyalty. It is about consistency. Brands that specialize in shears have quality control standards. Generic brands may have good days and bad days. Ask about the warranty. Ask about the return policy. Ask about sharpening services. A company that stands behind its product will answer these questions without hesitation. A company that hesitates is telling you something.

The paper test is a starting point, not a conclusion. It is the first word, not the last. The next time you buy shears, take five minutes. Run the full battery of tests. Your hands will thank you. Your wrist will thank you. And the shears you choose will serve you for years, not weeks. That is not just shopping. That is investing. And you are worth the investment.

Posted on — Leave a comment

The Mistake of Cutting with the Tip of Your Shears (And When to Use It Correctly)

Watch a stylist cut hair. Notice where the blades make contact. Many stylists cut almost exclusively with the tips of their shears. They nibble at the ends, snip at the perimeter, and rarely let the full blade touch the hair. They have learned that the tip is for precision. And they are half right. The tip is for precision. But it is not for everything. In fact, cutting with the tip when you should be using the base or the middle of the blade is a mistake that slows you down, fatigues your hand, and produces uneven results.

Your shear blade is not a uniform tool. It has three distinct zones, each designed for a different purpose. Understanding these zones transforms how you cut.

The base of the blade is the section closest to the pivot. This is the strongest part of the shear. It has the most leverage and the most cutting power. The base is designed for heavy work: removing bulk, cutting through thick sections, and making long, straight lines. When you cut with the base, the shears do the work. Your hand simply guides them.

The middle of the blade is the workhorse. It balances power and precision. This is where most of your cutting should happen. The middle is ideal for general cutting, layering, and creating shape. It gives you control without requiring excessive force. When you watch a master stylist cut, their shears seem to glide. That is because they are using the middle of the blade, not the tip.

The tip of the blade is for detail work only. Point cutting, texturizing the ends, softening a perimeter, trimming around the ears, and cutting in tight curves. The tip has the least leverage and the least power. It requires more hand force and more precision. Using the tip for heavy work is like using a scalpel to chop wood. It can be done, but it is inefficient, exhausting, and hard on the tool.

The most common mistake is cutting entire sections with the tip. The stylist opens the shears wide, then closes them using only the last quarter inch of the blade. Each snip removes a tiny amount of hair. To cut through a full section, they snip again and again and again. The result is a choppy, uneven line and a tired hand. The same section cut with the base or middle of the blade would take one or two smooth closures.

Another common mistake is using the tip to cut blunt perimeters. A blunt perimeter requires a clean, straight line. The tip, by its nature, creates a slightly curved or angled cut because the blades are narrower at the end. Cutting a blunt line with the tip is like drawing a straight line with a wobbly pencil. It can be done, but it takes more concentration and produces inferior results. The base of the blade, with its full width and straight edge, creates a cleaner line with less effort.

So when should you use the tip? Use the tip for point cutting. Slide the tip into the ends of the hair and snip at an angle to create softness and texture. Use the tip for detail work around the ears, the nape, and the hairline where precision matters and the sections are small. Use the tip for softening a blunt perimeter after you have established the line with the base or middle of the blade. Use the tip for cutting into curls or working in tight spaces where the full blade cannot fit.

How do you train yourself to use the right part of the blade? Start by paying attention. The next time you cut, notice where the blades are making contact. Are you constantly at the tip? Consciously move your shears deeper into the section. Let the hair slide further between the blades. Feel the difference in resistance. The base requires less force. Your hand will tell you when you are in the right place.

Practice on a mannequin. Cut an entire haircut using only the base and middle of the blade. Do not allow yourself to use the tip except for finishing details. You will be slower at first because you are breaking a habit. But you will also notice that your cuts are smoother, your lines are cleaner, and your hand is less tired. Speed will come with practice.

The shears themselves will tell you when you are using the wrong zone. If you feel resistance, if the shears are pushing instead of cutting, if you are having to squeeze harder than usual, you are probably too far out on the tip. Move deeper into the blade. The resistance will disappear.

Your shears are designed with a specific geometry for a reason. The blade gets narrower toward the tip because the tip is for detail. The blade is wider at the base because the base is for power. Using each zone for its intended purpose is not cheating. It is engineering. It is efficiency. It is the difference between fighting your tools and letting them work for you.

The next time you pick up your shears, remember: the tip is not the default. It is a specialized tool within a tool. Use it for detail. Use the middle for most of your work. Use the base for power. Your cuts will improve. Your hand will thank you. And your shears will last longer. That is not just technique. That is mastery

Posted on — Leave a comment

The “Click” You Shouldn’t Ignore: What It Means When Your Shears Make Noise When Closing

You are mid-service, focused on a delicate section around the ear. You close your shears, and you hear it. A faint click. Maybe it’s been there for weeks, and you have been ignoring it. Maybe it just started today. Either way, you tell yourself it’s nothing. Shears make noise sometimes, right? Wrong. Professional shears, when properly maintained and aligned, close in near silence. A click, a clink, a scrape, or any sound other than a soft whisper is your shears telling you that something is wrong. Ignoring that sound is like ignoring the check engine light in your car. You might get away with it for a while, but eventually, you will be stranded on the side of the road.

The first thing to understand is that shears are precision instruments. The two blades are engineered to glide past each other with a gap measured in thousandths of a millimeter. When they are perfectly aligned and properly tensioned, the movement is smooth and silent. Any sound indicates that something has changed. The blades are touching when they should not be. The pivot is loose or tight. The edge is damaged. Debris is trapped between the blades. Whatever the cause, the sound is a symptom of a problem that will only get worse if you ignore it.

Let us start with the most common cause of clicking: a loose tension screw. The tension screw controls how tightly the two blades are pressed together. When it is properly adjusted, the blades glide smoothly. When it becomes too loose, the blades can separate slightly during the cut, then snap back together when you close the shears. That snap is the click you hear. The fix is simple: tighten the tension screw slightly. Turn it in small increments, testing after each turn, until the click disappears. Be careful not to over-tighten, which creates its own set of problems.

The second most common cause is debris trapped between the blades. A tiny piece of hair, a speck of product residue, or a grain of dust can lodge itself in the pivot or between the cutting edges. When you close the shears, the debris creates a momentary gap, then releases, creating a click or a pop. This is more common than most stylists realize. The fix is equally simple: clean your shears thoroughly. Use a soft cloth to wipe between the blades. Use a small brush to clean around the pivot. Apply a drop of oil to the pivot and work it in by opening and closing the shears several times. Often, this alone will silence the click.

The third cause is more serious: misalignment. When the blades are misaligned, they no longer meet in the same plane. One blade may ride slightly higher than the other. When you close the shears, the edges may strike each other instead of gliding past. The resulting click is often accompanied by a feeling of resistance or a scratchy motion. Misalignment is usually caused by dropping the shears, knocking them against a hard surface, or using them with improper tension for an extended period. The fix is not DIY. Misaligned shears need professional servicing. Continuing to use them will damage the edge permanently.

The fourth cause is a damaged edge. If your shears have a nick, chip, or burr on the cutting edge, that imperfection can catch on the opposite blade as the shears close. The click is the sound of the damaged edge striking the other blade. This is a serious problem because the damaged edge will continue to worsen with use. The fix is professional sharpening. A skilled sharpener can remove the damage and restore the edge. In severe cases, the shears may need to be replaced.

The fifth cause is a worn pivot. Over years of use, the pivot mechanism can develop play. The washers can wear down. The bearing surfaces can become uneven. When this happens, the blades no longer track together smoothly. They wobble slightly, creating clicks and pops during closing. Worn pivots are a sign that the shears are approaching the end of their useful life. Some can be rebuilt by a skilled technician. Others need to be replaced. If your shears are more than five years old and have been heavily used, a worn pivot is a likely culprit.

The sixth cause is the simplest: dry pivot. When the pivot is dry, metal rubs against metal. The resulting friction can create a clicking or grinding sound. The fix is a single drop of lightweight shear oil applied to the pivot. Open and close the shears several times to work the oil into the mechanism. Wipe away any excess. The sound should disappear immediately. If it does not, move on to the other potential causes.

How do you know which cause applies to your shears? Start with the simplest fix first. Clean and oil your shears. Tighten the tension screw slightly. Test again. If the click remains, examine the blades under bright light. Look for nicks, chips, or visible damage. If you see damage, send the shears for sharpening. If you see no damage, perform the paper test. Cut a piece of paper and examine the edge. If the cut is clean but the click remains, the problem may be misalignment or a worn pivot. Both require professional evaluation.

The most important rule is this: do not ignore the click. A click today becomes a grind tomorrow. A grind tomorrow becomes a ruined edge next week. A ruined edge becomes a new pair of shears next month. The sound is not annoying background noise. It is diagnostic data. Your shears are telling you exactly what is wrong if you are willing to listen.

Many stylists develop a habit of ignoring small problems with their tools. They are busy. They have clients waiting. They will deal with it later. Later never comes. The click becomes part of the background noise of the salon. The stylist adapts by squeezing harder, cutting slower, or avoiding certain techniques. The shears degrade. The work suffers. The clients notice. And the stylist wonders why their cuts no longer feel as sharp as they used to be.

Do not let this be you. The next time you hear a click, stop. Finish the client with your backup shears if necessary. Then diagnose the problem. Clean and oil. Adjust the tension. Test with paper. Look for damage. If you cannot fix it yourself, send the shears to a professional. A week without your favorite shears is better than a year of compromised cuts and a wrist that aches from compensating for a tool that no longer works.

Your shears are the most important tool you own. They deserve your attention. That click is not a nuisance. It is a conversation. Listen to what your shears are telling you. Your hands will thank you. Your clients will thank you. And your shears will reward you with years of silent, effortless service.